Community Gardens
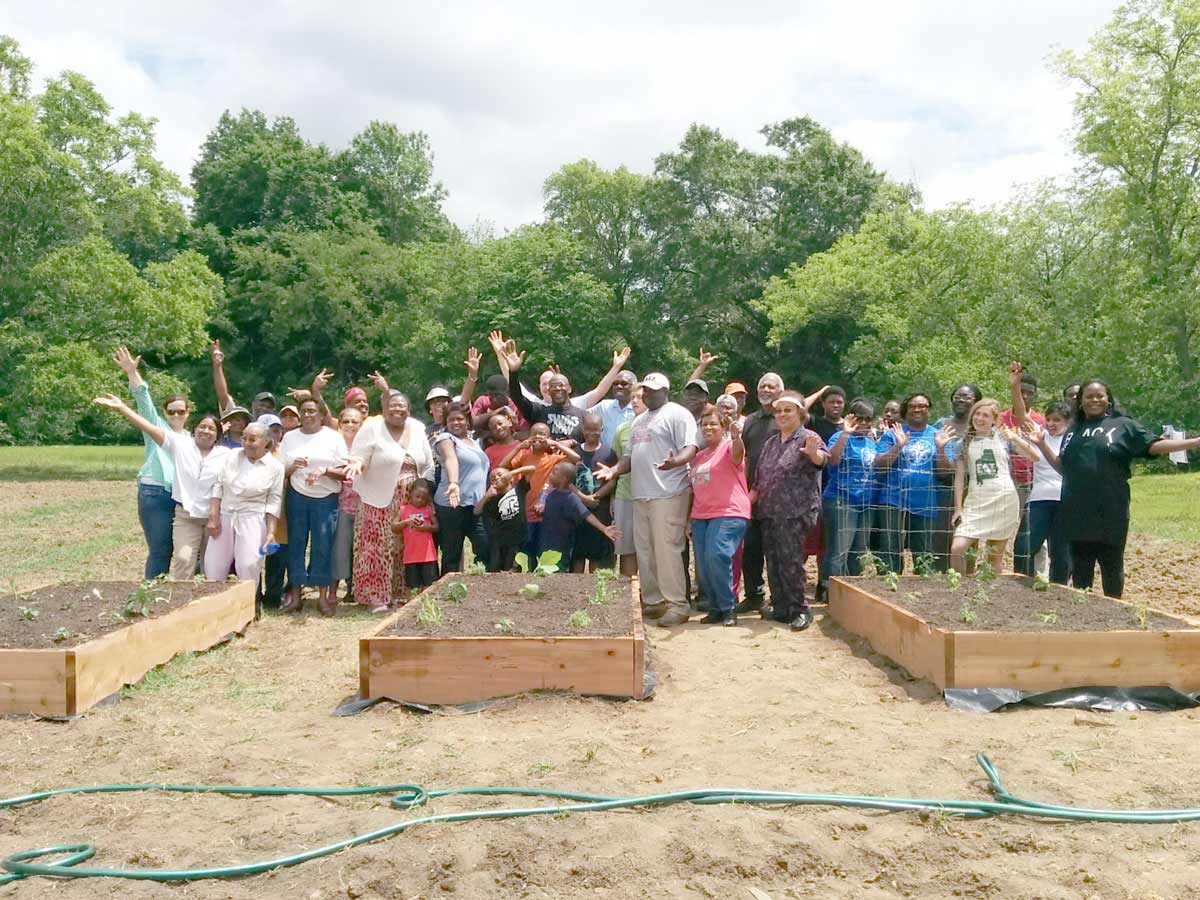
Whether you have a pot on your porch, space for a single bed, or an entire acre, starting a community garden is a great way to bring a community together to increase physical activity, produce healthy foods at a low cost, and create a sense of pride in what you’ve accomplished. So get your church, neighbors, and family together and use the information below to help you get started. And don’t forget, we live in the south, so almost any season is planting season!
Building a Community Garden
If you have space to place beds and a small team to help you, this is the garden project for you! Here’s what you need:
- Space to make the garden – good sunlight, close to water, and easy access
- Helping hands – gardens require maintenance, so you may want people to help
- The equipment and tools to build the garden. If you are building your beds, you may need all of these tools. If you are planting in the ground, you won’t need everything listed here:
- Wheel barrow, soil, shovels, rake
- Skill saw, drill, hammer
- Leveler, measuring tape
- Gloves, protective eye wear, ear plugs
- Irrigation (hose, and/or drip line or other self timed watering system)
- A soil test (scroll down to the “Soil Testing” section for more information)



Building the Garden (Raised Bed)
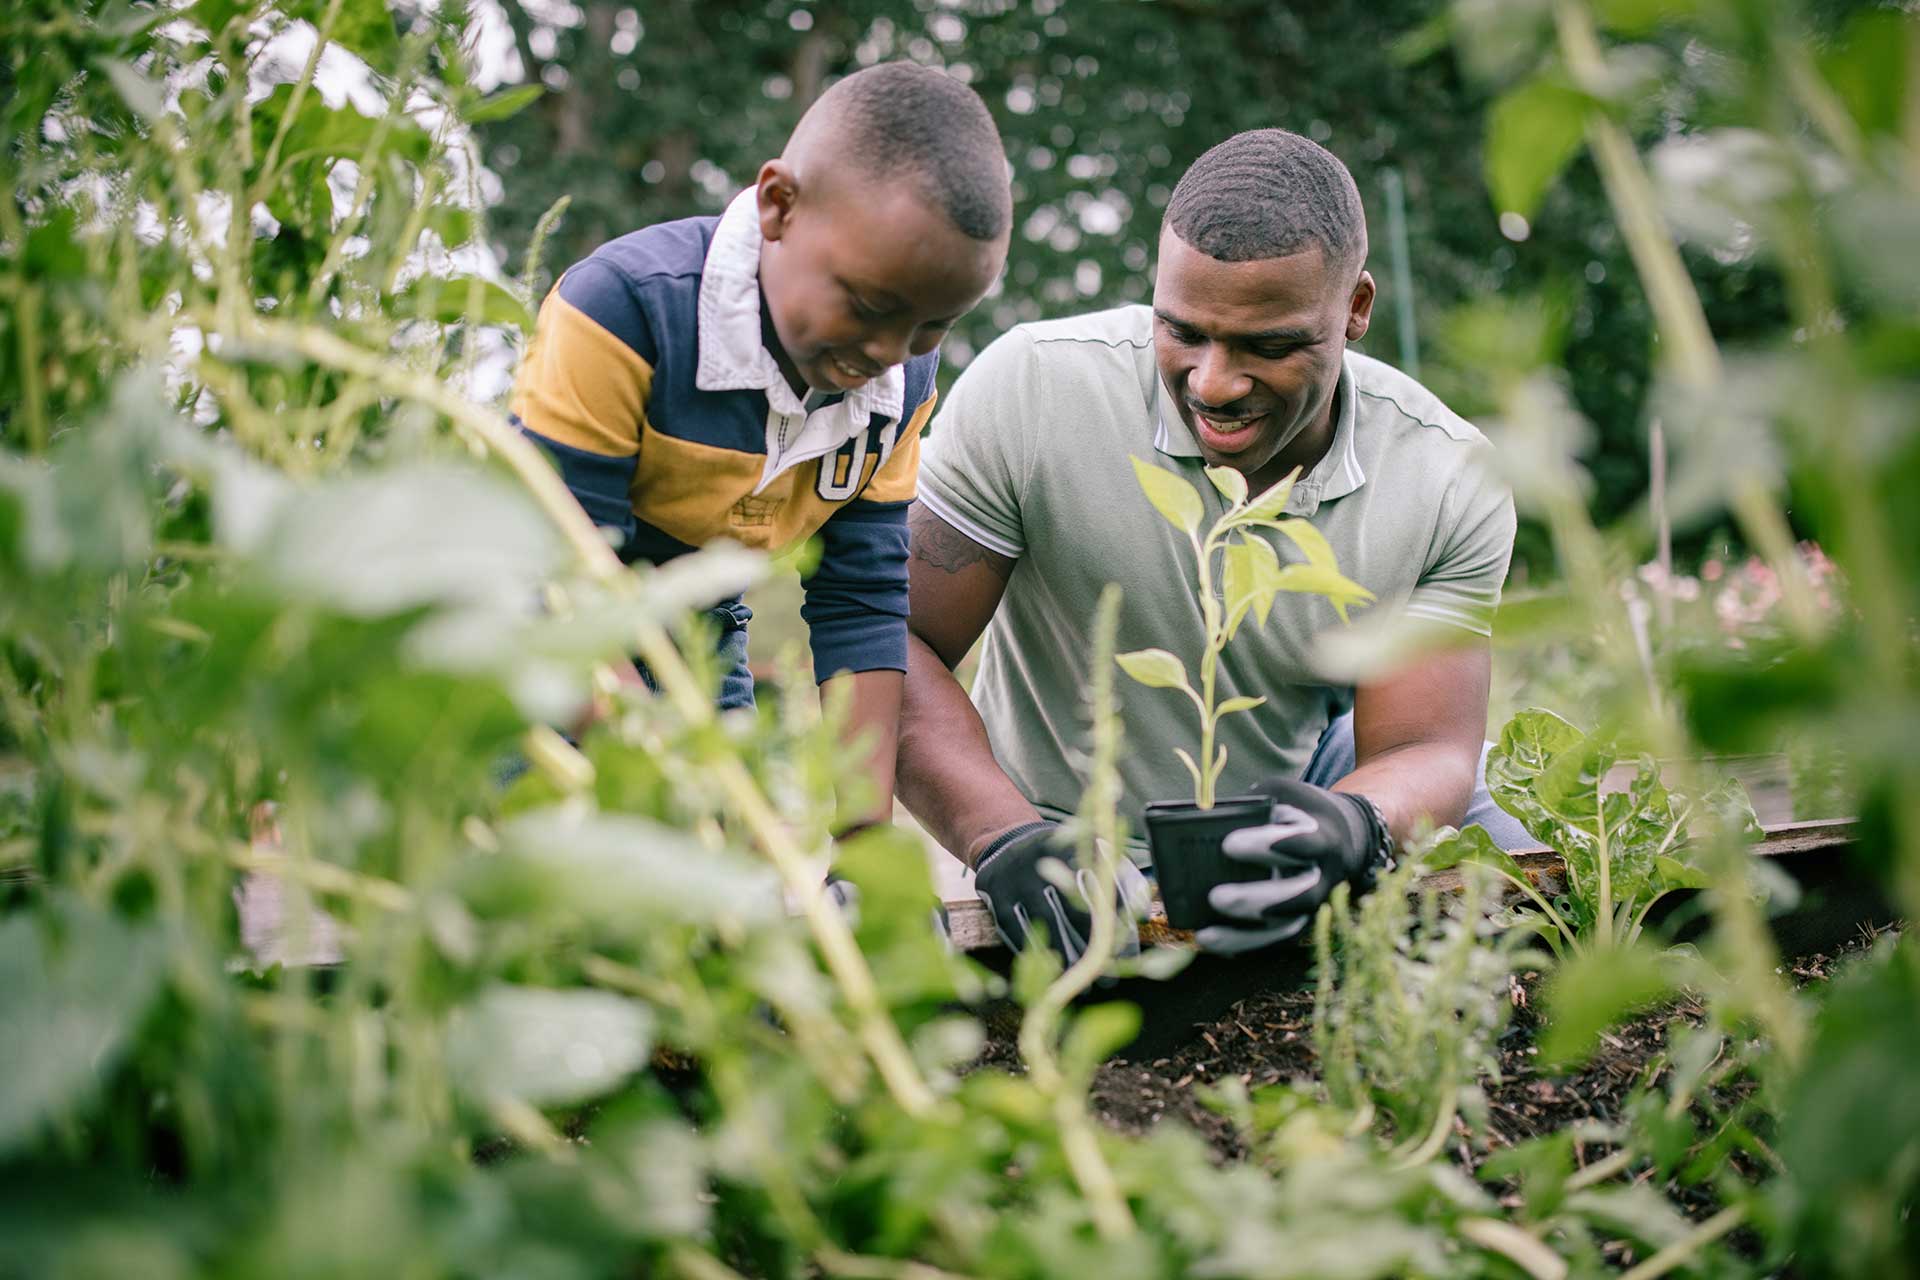
A 4×8’ bed takes about 30-45 minutes to build, based on experience level, for a single person. It may take another 50 minutes to fill with soil. You can usually have up to 5 people working on a single bed at a time to reduce these estimates. Make sure you or someone in your group has experience with cutting wood, attaching brackets, hammering in steaks, and leveling off the boards. Click to download Instructions for Building a Raised Garden Bed.
Seeding and Maintaining the Garden
Direct seeding is common for community gardens and takes about 25-35 minutes per 4×8’ bed for one person. Whether you use seeds or sprouts, it’s important to water them 2-3 times per day for the first two weeks (depending on crop) to ensure best germination and survival.
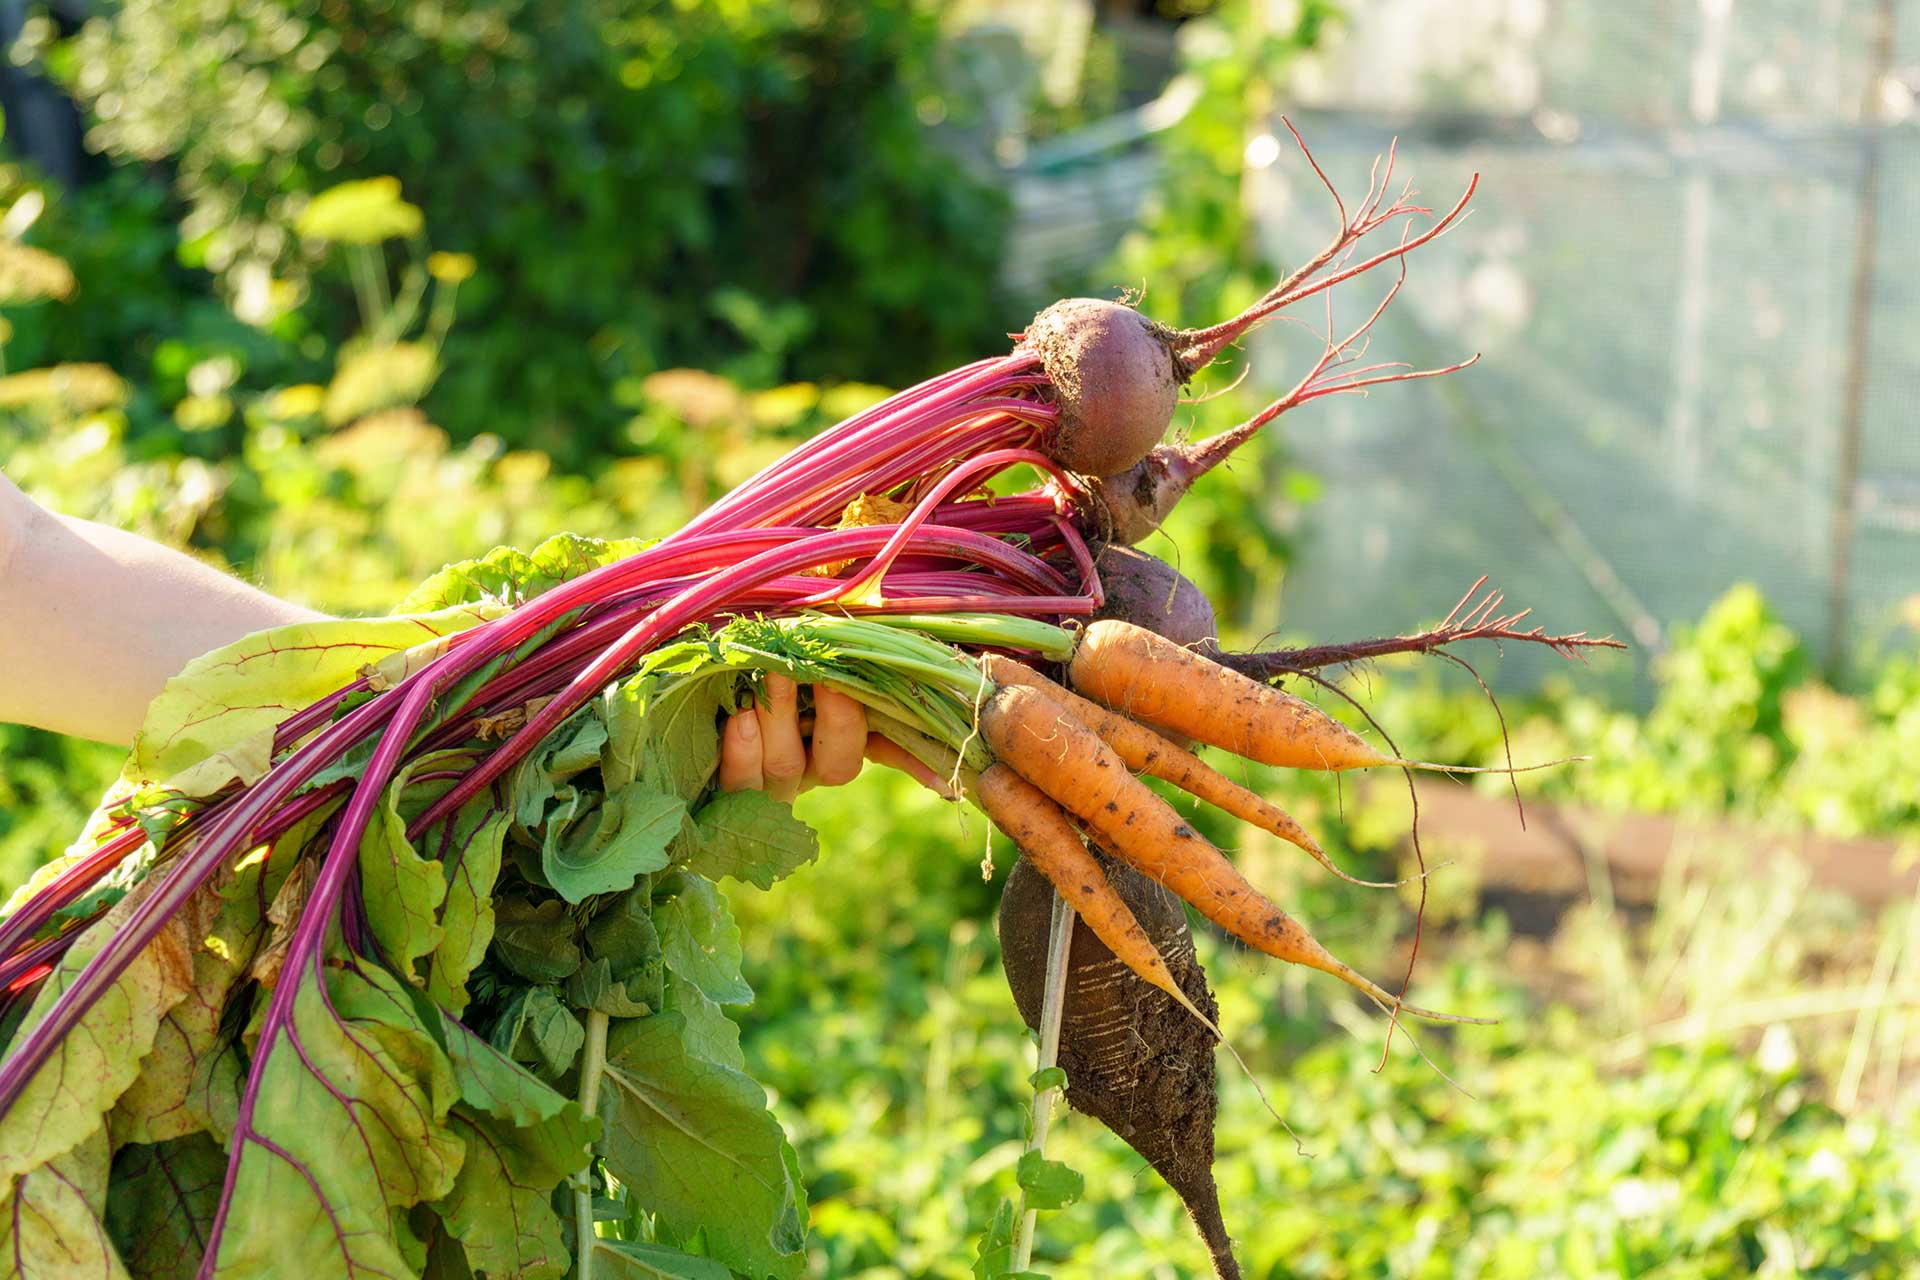
Weeding should be done weekly. Fertilizer (3-3-3 or 7-3-3) should be applied weekly during growing and harvest times to ensure the greatest harvest. Picking 2-3 times each week as crops are producing helps ensure longer higher production season.

Container Gardens
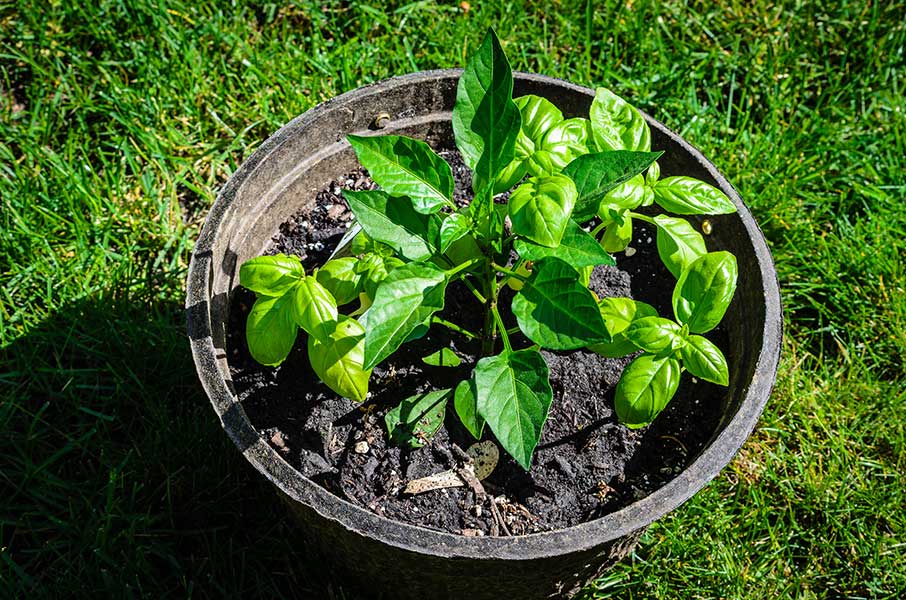
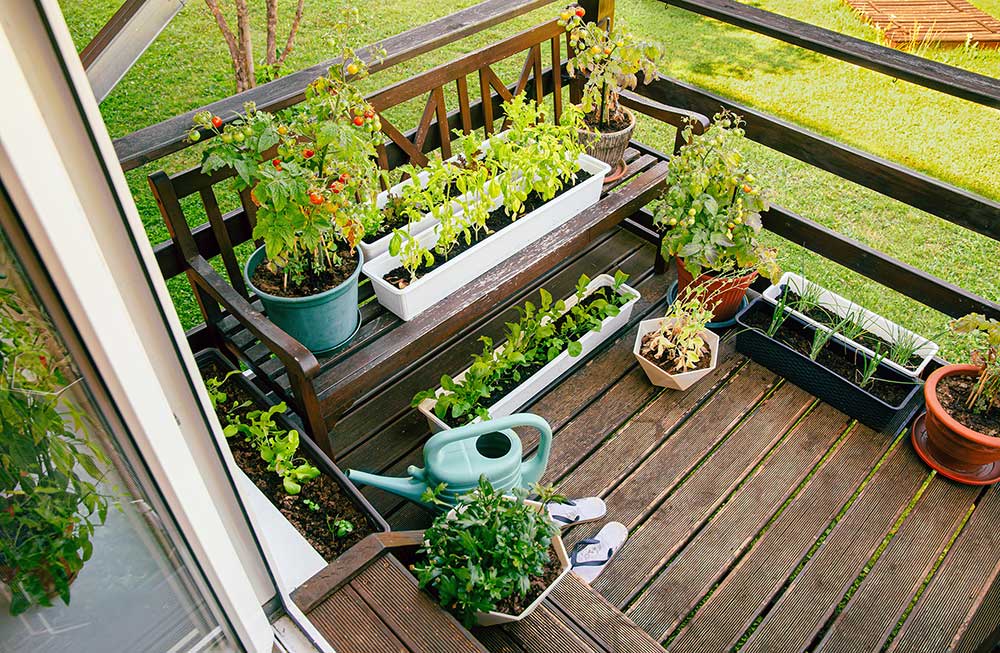
Not everyone has the resources to plant a garden in beds or in the ground, but almost anyone can grow their very own garden in containers! Containers (pots) come in many different shapes, sizes, and materials and can be found at all hardware stores or seasonally at WalMart.
Types of Containers
Tips for Container Gardens
- Avoid heavy soils. Instead, use a good potting mix.
- Don’t overfill your pots. Plants will grow and fill in.
- Most anything can be put into a container. Larger rooted plants need larger containers.
- Sunlight needs will depend on the type of plant you’re growing. Make sure your garden is getting the proper amount of light.
- The amount of water your plants need also depends on what you’re growing. Find out what amount of water works best for your plants and then monitor the moisture levels.
- Fertilize as needed. Make sure you’re using the proper fertilizer and amount for the type of plants you’re growing.
- Make sure you containers have proper drainage.
- Watch your plants for signs of pests and disease.
- Only plant what you can manage. Maybe you only have time to care for a single tomato plant. That’s OK! If you have more time, plant more!
Soil Testing
Soil testing is available in every county. Here’s what you should do:
- Use a clean, rust-free trowel to take samples from up to 10 areas of your lawn by digging several holes in the lawn 6- to 8-inches deep.
- Take a slice of soil from one side of each hole.
- Save 1- to 2-inches from the middle of the slice, and discard the sides, top, and bottom.
- Mix the samples in a clear container and allow them to dry at room temperature.
- Get more information on soil testing and send your samples in for testing.

Additional Resources
Download the Alabama Gardener’s Calendar
Download the Backyard Composting Guide
Download Information About Insecticides for Organic Vegetables
Download the Complete Gardener’s Guide Information on Soil Testing
Instructions for Building a Raised Garden Bed
Visit EAT South
Made possible with funding from the Centers for Disease Control and Prevention.


